Back to Safety Center Main Menu
Mappings and Filters
Create a Mapping
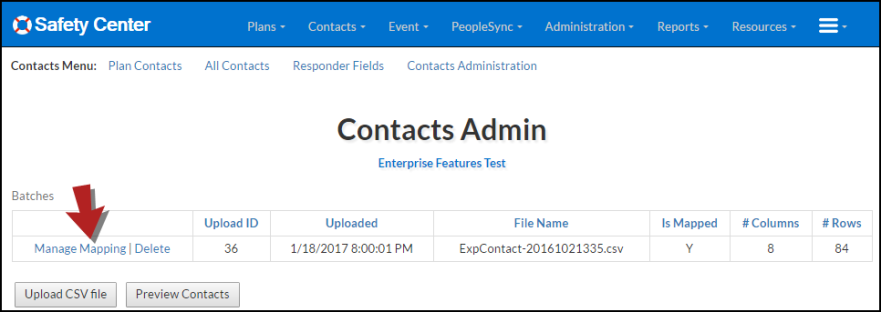
- Click on the Contacts tab and then click on Contacts Administration.
- Click Manage Mapping.
- Click the Create New Mapping button.
- Click the Rename link to rename the mapping to indicate which plan group/audience will be viewing it.
- Click Update to save changes.


- Click the Select link on the mapping you just renamed.
-
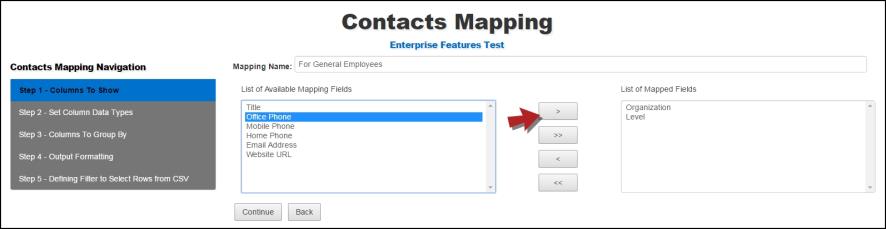
Step 1 - Columns to Show: Choose which Columns to display and group by within this mapping. Select from the List of Available Mapping Fields and move one or more over using the arrows.
- Click Continue.
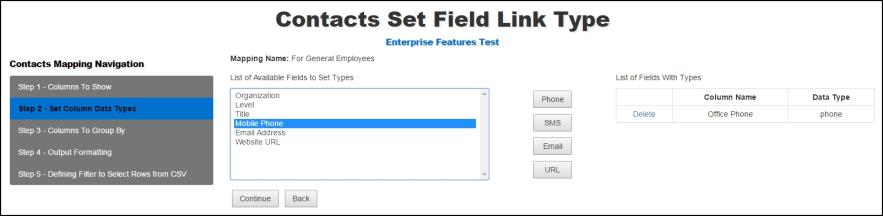
- Step 2 - Set Column Data Types: Select the column heading on the left and then select a data type on the right. Choose from Phone, SMS, Email, or URL. This will make the phone number, URL, or email address actionable when displayed in the Safety Center mobile app.
- Once all the Column Data Types have been selected, click Continue.
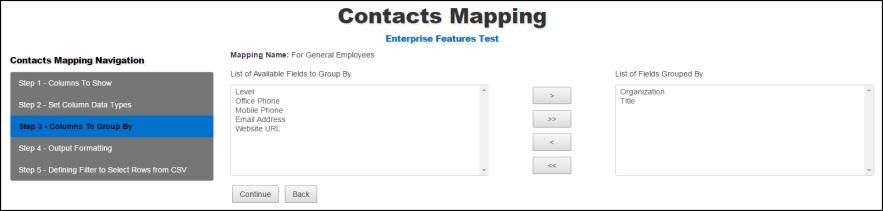
- Step 3 - Columns to Group By: Select a column heading from the List of Available Fields to Group By on the left, and use the arrows to move one or more column headings to the right. *Note: The below example will first group contacts by Organization and then by Title within each Organization on the mobile app.
- Click Continue.
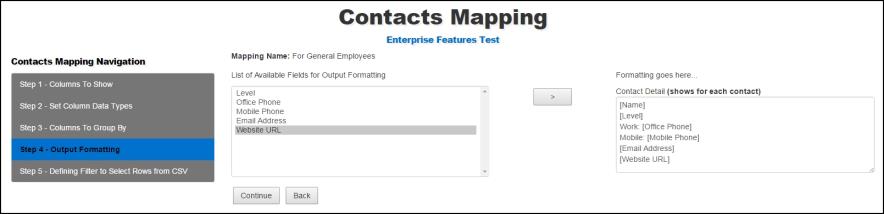
- Step 4 - Output Formatting: On the Output Formatting tab, design the look and feel of how Contacts will be displayed within the Safety Center mobile app. With ContactSync, contacts appear similarly to business cards. Select from the List of Available fields on the left and use the arrow to move the field to the Contact Detail on the right.
- Click Continue.
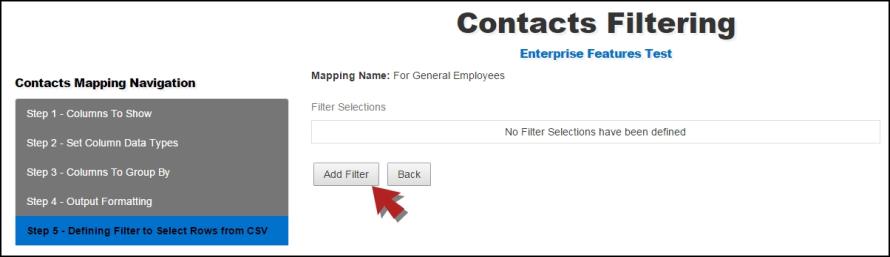
Adding Filters
Select which rows will be displayed for a particular mapping based on what is pertinent for the plan group/audience in mind. Filters represent rows of data within the file upload.
- Click Add Filter.
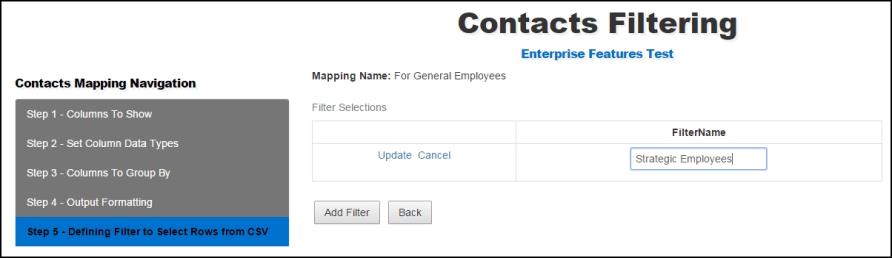
- Click the Rename link and name the Filter by typing into the text box under FilterName.
- Click Update to save.
- Click Select. The Online Portal will then display the list of available column headings and filter operations.
- Select the column heading on the left, if applicable type into the text box, and click the Add button. *Note: In the example below, each Contact on the file uploaded that contains strategic within their row of data will be displayed on the mobile app.
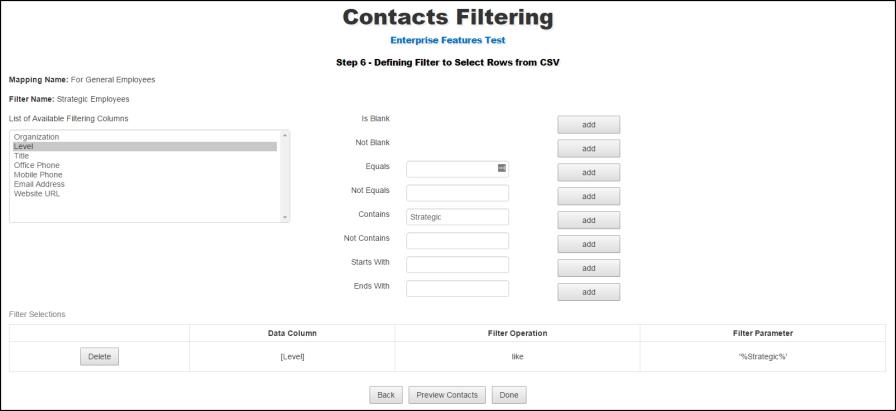
- Multiple filters may be added to one mapping depending on the administrator’s use case. Please note that these filters are added by AND statements only, meaning the more filters added to one mapping, the more granular and specific the list of contacts displayed within the mobile app.
- Choose to Preview Contacts or click Done.
